Getting started with Ellie is easy! Currently, we offer both Chrome and Firefox extensions that integrate directly into Gmail, as well as provide a global shortcut that enables you to generate a reply at any point from within your browser.
Step 1/3 - Obtain a License (Free or Paid)
To start using Ellie, you’ll need a license key. We offer a few options to suit everyone’s needs. If you’re looking to give Ellie a test-run before you commit to a paid plan, you can obtain a free license. This will give you full access, and the ability to generate two replies per day.
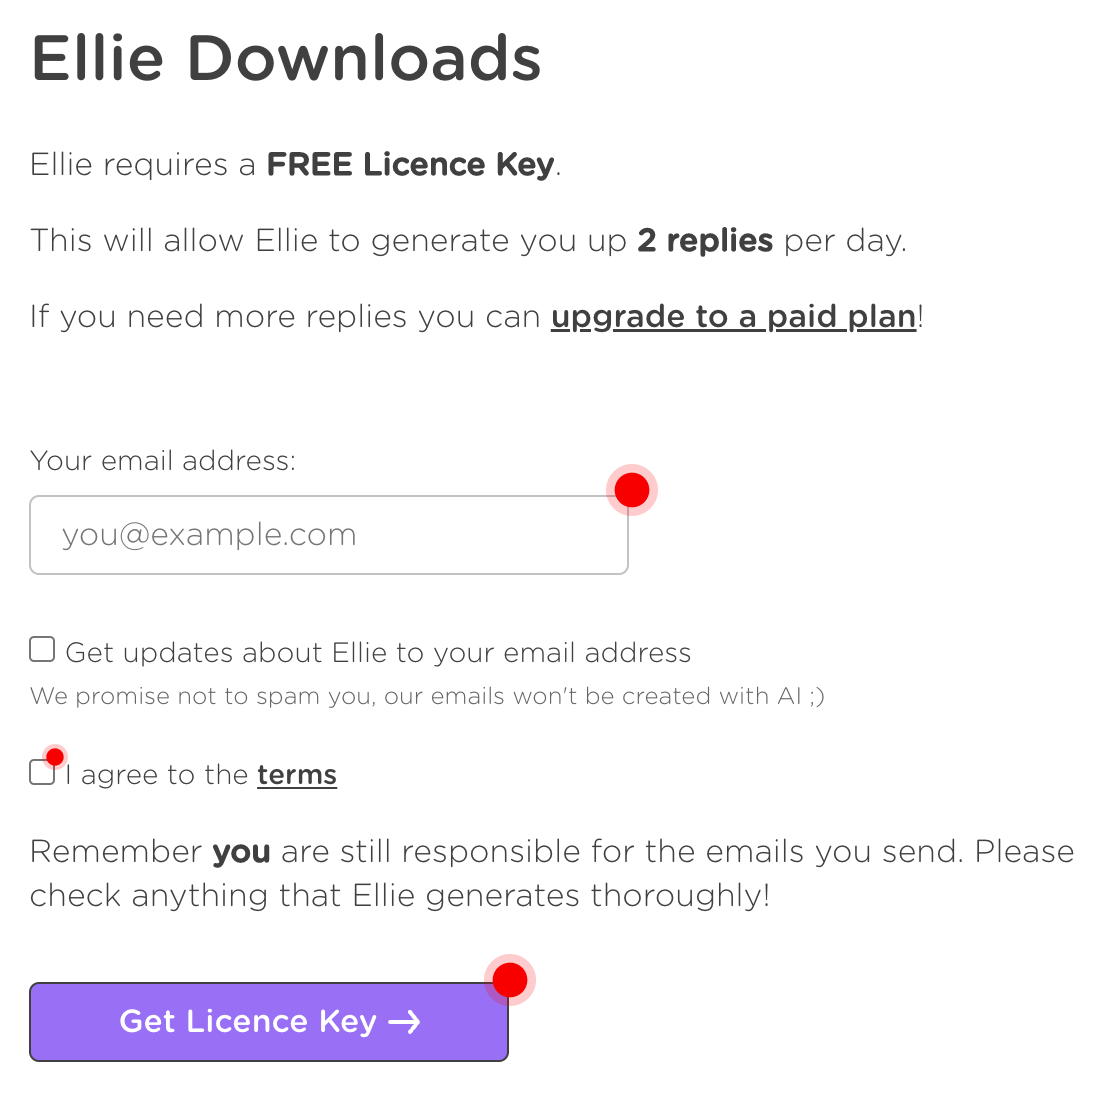
Free License
Head over to our downloads page, fill in your email address at the top of the page (so we know where to send the license key), read and agree to the terms, then click “Get License Key”
Paid License (starting at $19 USD/month)
Ready to get serious about managing your replies? Head over to our pricing page and subscribe to the plan that suits your needs. - Heads up! You save money if your subscribe to a yearly plan over a monthly one.
Once you’ve chosen a plan and made payment, we’ll email your license key to the emails you stated during checkout. Always check your spam folder (just in-case)!
Step 2/3 - Install our Browser Extension
Ellie for Chrome
Ellie for Firefox
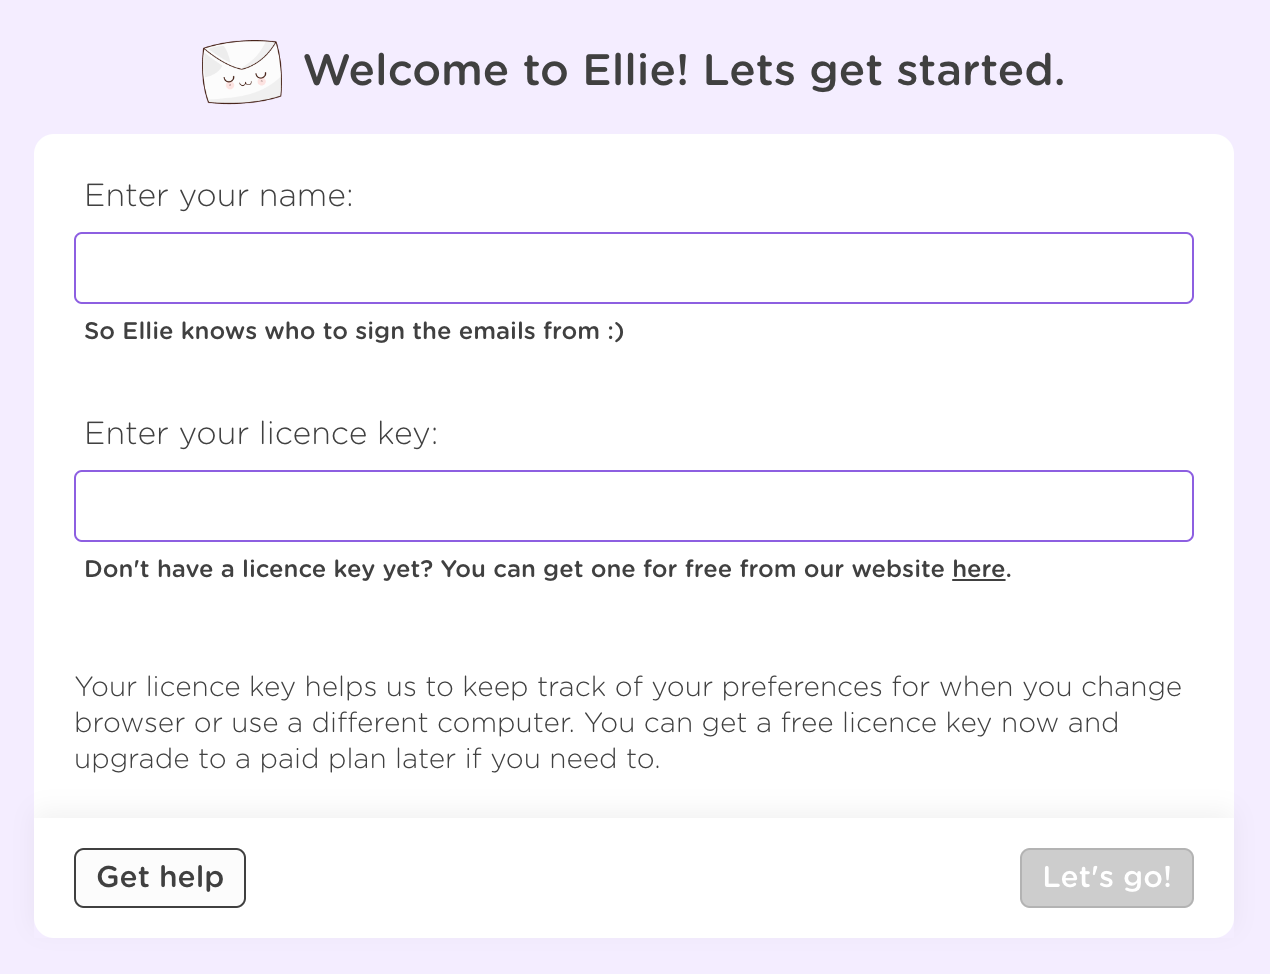
Step 3/3 - Activate Ellie
After you’ve installed Ellie, our onboarding screen should open in a new tab. All that’s left to do now is enter your name, and license key (that we obtained in Step 1)!
That’s it! Ellie’s now ready, head over to Gmail (or Fastmail) and get ready to wiz through your replies. ✨
Didn’t see the onboarding screen?
If for some reason you don’t get the onboarding screen, you can head to Ellie’s settings to enter your name via the “Setup” page and key via the “License Key” page.